So, you’ve finally decided to go solar and bid goodbye to your electricity bills? Great choice!
You’re not only saving yourself from the high power costs but the ecosystem too!
Millions of American households now have switched to solar energy. The United States installed more solar in the first quarter of 2020 than ever before, with 1.96 GW. That’s 65% higher than the total installations in the first quarter of 2019.
If you’ve decided to be part of the increasing numbers of solar power systems, the next thing you need to do now is to know exactly what happens during the installation process of solar panels.
Take note that although you can install solar panels at home by yourself, consulting an expert is still better to ensure that the procedure is done according to safety standards.
Read on to find out the 7 steps in installing solar panels:
1. Find the Best Location in Your Property
There are guidelines when it comes to the best place to install a solar panel on a property.
The pitch and direction of your roof affect the performance of a solar system. Solar panels produce better results when installed on south-facing roofs.
Make sure also to pick a location that will give your panels the maximum sun exposure during the daytime.
[Related: 3 Truths About Solar Panel Cost]
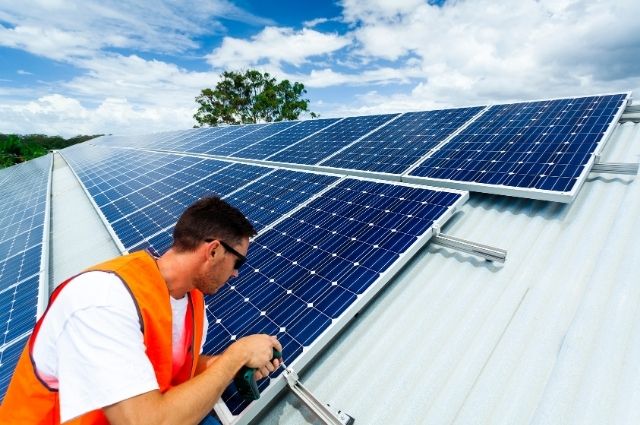
2. Mount and Install Solar Panels
Set up your solar panel mounting systems to serve as the support for your solar panels. The system has to be tilted and angled at 18-36 degrees for better sunlight exposure.
Mount the panels using brackets, clamps, or bolts to secure the modules firmly on the platform.
Be extra careful on the installation process. Hire an experienced professional to do the job to avoid unwanted accidents and damages.
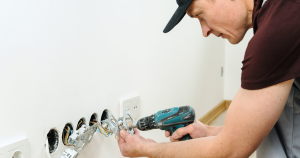
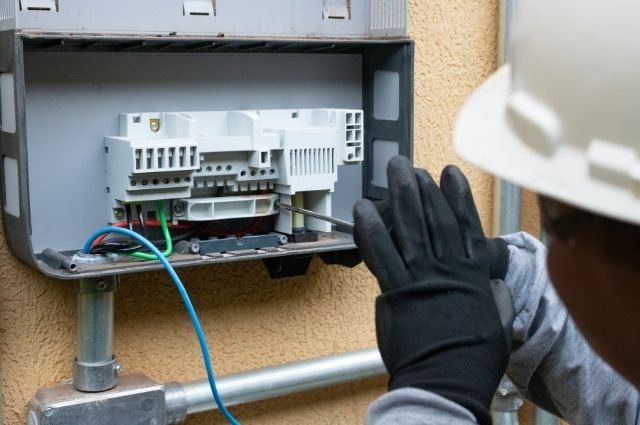
3. Wire the Solar Power System
The next stage in your solar panel installation is the electrical wiring process.
Get started by shutting off your home’s electricity supply. Wire your solar panels together using a fuse combiner box and ensure that the cables are well insulated to prevent problems such as power leakages and accidents.
Connect the exterior wiring to the interior control panels to allow energy flow from the disconnect to a charge controller or an inverter and battery bank.
This step is crucial and dangerous, especially for household owners with no background as a solar system installer. Hire a qualified technician with experience in solar panel installation to ensure your safety.
4. Solar Panel Earthing
Make sure to ground both the solar panels and the mounting system during the installation process.
Ground the rods at least six inches above the ground, and your control panel inside the house, too, if there’s no earthing network nearby.
This step will protect you and others against electric shock, fire, and other accidents. It will also protect your solar components against power surge and lightning.
[Related: How to Repair Solar Panel at Home – A Comprehensive Guide]
5. Bond the Solar Inverter and Battery
Your solar inverter and battery need to be connected so you can store energy and avoid worrying about the lack of usable energy whenever the sun isn’t present.
6. Connect the Electrical Components
Connect and fit the electrical components properly. It includes your panels, charge controller, battery, and inverter.
You can direct the power from the inverter to the main control panel of your home. You can also check and monitor your solar system’s performance using a computer.
7. Test the Solar Energy System
Once you’re with your solar installation, you can switch the power on and test it. Check if everything is working correctly.
[Related: How Much Does Solar Panel Repair Cost in Arizona?]
Start Your Solar Installation Now!
Installing a home solar power system can be tricky, but you’ll reap huge benefits later on. Before you start the installation, you have to keep in mind the following factors:
- Your power needs (check your lighting systems and appliances)
- The number of sun hours in your area (more sun hours means more energy)
- Your home’s size and design (a bigger roof can accommodate more panels)
Use the steps listed above to ensure safe and proper solar installation. Hire a qualified technician to prevent unwanted damages and accidents during the process.
If you need help with your solar panel or if you have any electricity concerns in your home, Assurance Electrical Services is here for you. Contact us today for more information!
Got any questions about solar panel installation? Ask them away in the comments section below!

Jeff Brandlin is the founder of Assurance Electrical Services, LLC. He started in the electrical industry when he was 21 and had worked in several electrical firms before founding Assurance Electrical. Jeff is dedicated to providing the best quality service to his clients and always puts their needs first. Outside work, Jeff enjoys spending time with his wife and children.